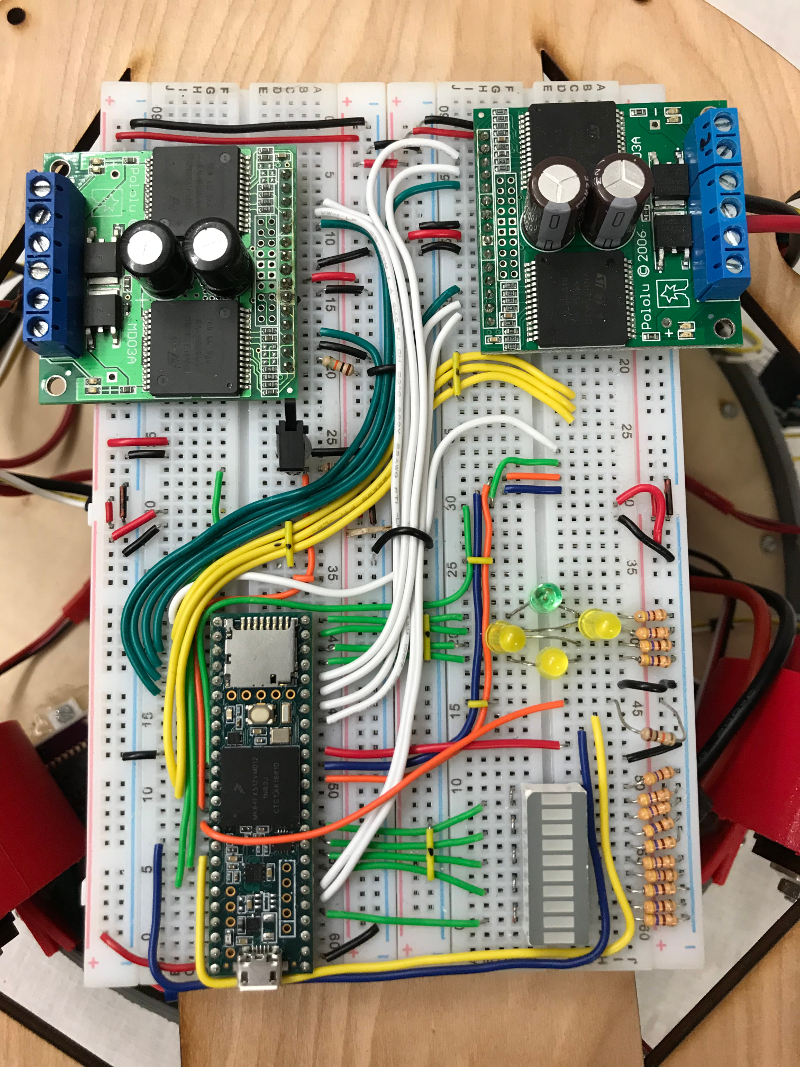
To get your Teensy up and running for the first time:
- Connect your Teensy to the breadboard. Place the Teensy so
that the USB connector hangs off the end of the board.
- Identify your +5V power source (twisted pair of red/black
wires). Connect these to one of the breadboard power buses
(remember to keep the colors the same). Keep in mind that the
two power buses on the breadboards are not connected to
one-another by default. Likewise, a single bus (running down
one side) is split into two electrically independent buses.
For either case, if you mean for these to be connected, then
you must run jumper wires to do this.
- For the other connectors coming from the lower deck: plug them
into the breadboard so that the individual pins do not connect
to one-another. This will keep them from moving around and
shorting the powered parts of your circuit.
- Run a jumper wire from the +5V bus to Vin of the Teensy.
- Run jumper wires from the ground bus to the GND pins on
the Teensy (there are two such connections).
- Check all your wiring. Twice.
- Connect the battery. Turn on power. You should see the red
LEDs on the bottom of the hovercraft turn on.
- Connect the USB wire between the Teensy and your computer.
- You should be all set to program your Teensy. See our
Teensy Start-Up Guide
|
|